Please ensure you know your email user name (this is usually the full email address) and password.
Italicised text is used throughout this guide to demonstrate example settings. This should not be copied directly!
Apple iPhone
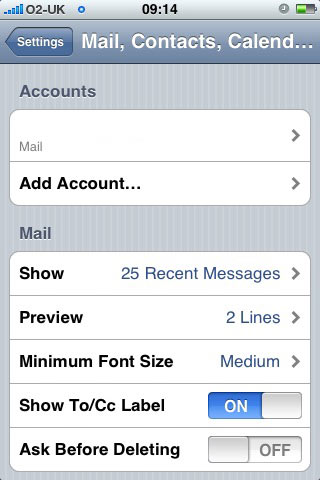
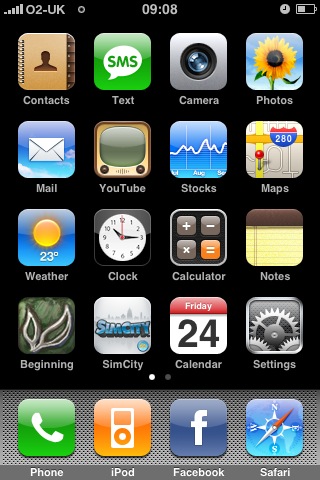
If this is the first account you’re setting up on the iPhone or the iPod Touch, tap Mail. Otherwise, from the Home screen choose “Settings > Mail > Accounts > Add Account…”.
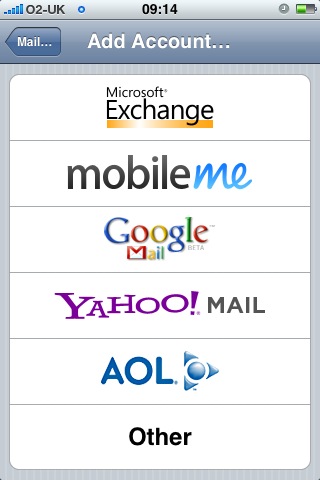
By tapping the option at the bottom of the list, set the account type as “Other”
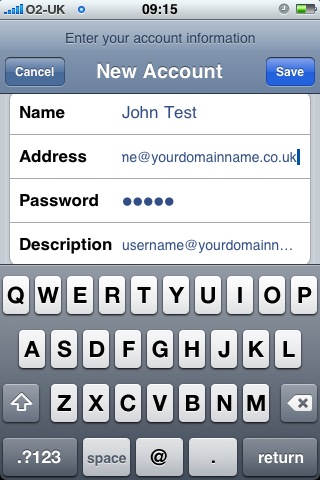
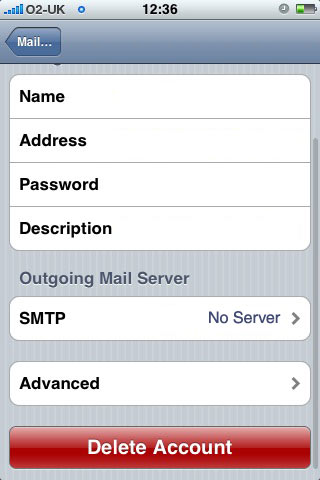
Then input the following information:
Name – this is the name you want to associate with the e-mail address. It is what people who receive your e-mails will see as who sent the mail
Address – the e-mail address that you are going to be using (e.g. info@yourdomainname.co.uk)
Password – The password will also have been supplied to you, please note the password is case sensitive.
Description – A description so that you can identify your account (e.g. info@yourdomainname.co.uk)
And tap SAVE.
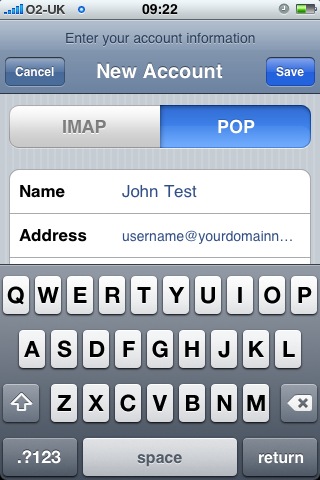
Next, select the server type – POP – by tapping the option on the right
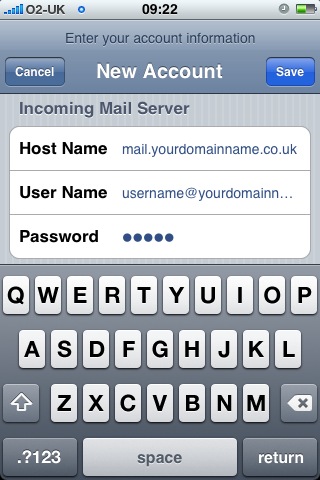
Then input the following account information for the Incoming Mail Server:
Host Name - In the same way that your website with us is found at www.yourdomainname.co.uk the Host Name needs to be set to mail.yourdomainname.co.uk (Please do not enter any @ symbols into the server address box).
User Name – This will be the user name you were given when the account was created (usually the full email address for the account, complete with @ symbol)
Password – The password field has been completed from your earlier entry.
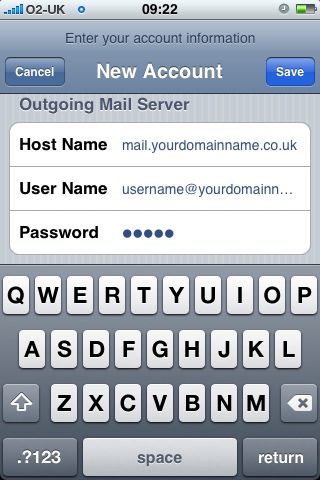
Input the same information for the Outgoing Mail Server, exactly as you have entered for the Incoming Mail Server, including the password.
Then tap SAVE.
Your iPhone or iPod Touch will then try to verify the POP account information. You may receive a prompt asking to connect without using SSL – tap NO
Then tap SAVE again.
You will be prompted that “POP account verification failed” and a warning that this account may “not be able to send or receive emails”. Tap SAVE again.
Back in the mail settings, select the account you have just configured. Scroll down to the Outgoing Mail Server and select SMTP (No server).
Select mail.yourdomainname.co.uk (off)
Turn the server ON and set the Server Port to 465
Click the back button to save these details.
Your mail account is now ready for use. Navigate into the Mail to check your mail.