Setting up an IMAP email Account on an Apple iPad
Have the following details ready before you start:
- Your domain name
- Your email address
- Your email password
Configuring Apple iPad Mail
- If this is the first account you’re setting up on your iPad, tap Mail. Otherwise, from the Home screen click:
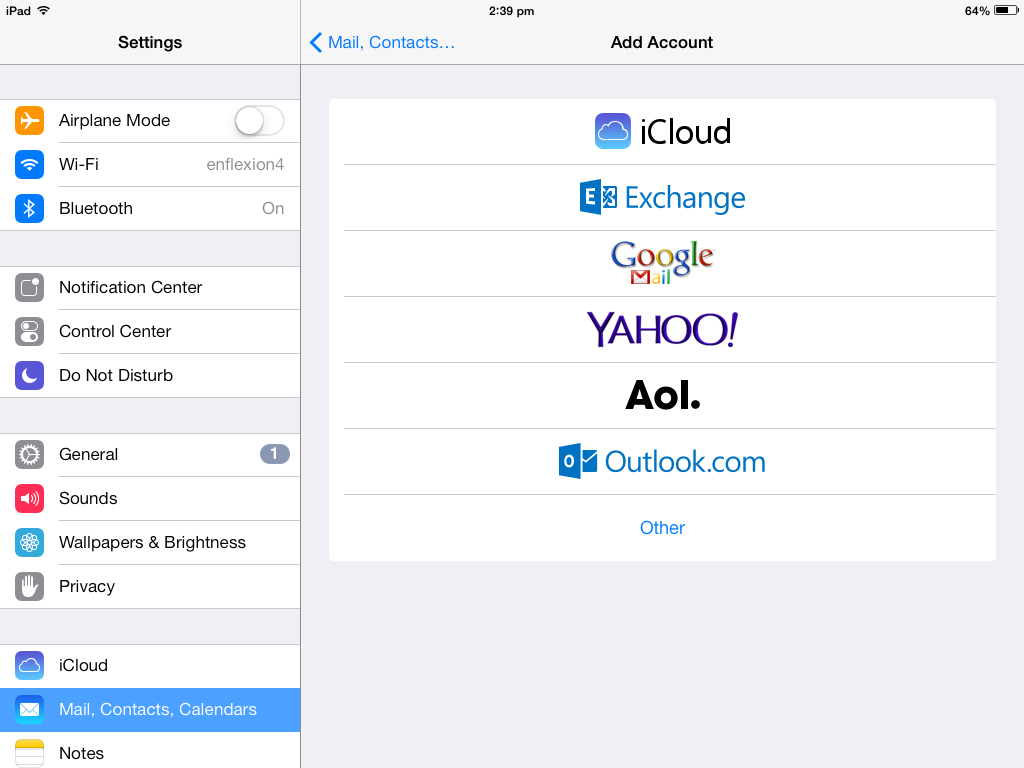
- Settings > Mail, Contacts, Calendars > Add Account…
- Click: Other.
- Enter:
- Your Name
- Your full E-mail Address. Example: info@example.com
- Your E-mail Password
- A description of the account
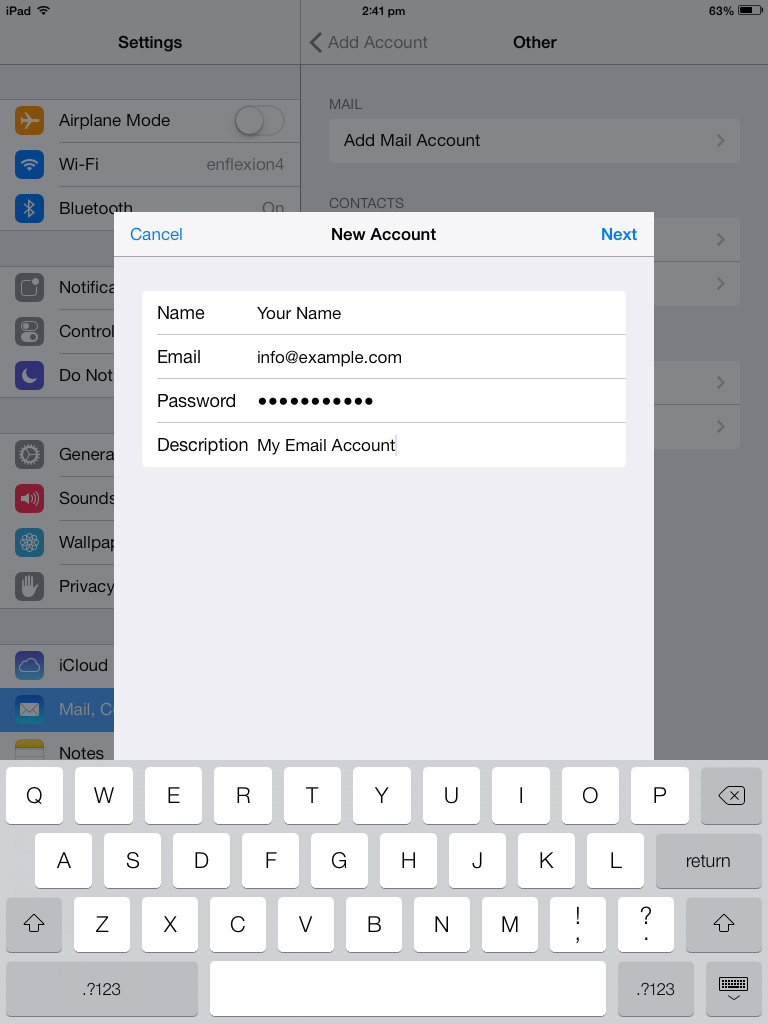
- Click Next
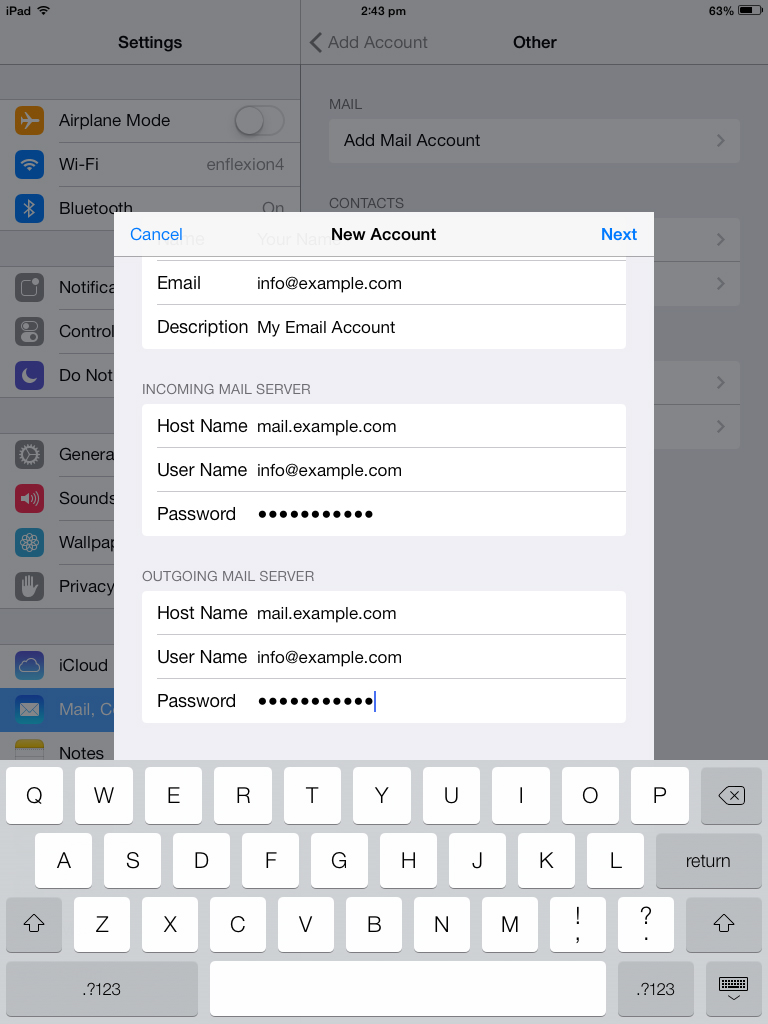
- Click IMAP.
- Enter:
- Incoming Mail Server as mail.example.com, replacing example.com with the domain of your website.
- Your full E-mail Address.
- info@example.com in User Name
- Outgoing Mail Server (SMTP):
- mail.example.com, replacing example.com with the domain of your website.
- the full E-mail Address. Example:
- info@example.com in User Name
- Your E-mail Password
Enter Email Settings
- Click Next.
- A message ‘Cannot Verify Server Identity’ will appear. Tap continue.
- Your iPad will now take some time to verify your email account information. Once this is done:
- Click Save.
- Press the Home button
- Click Settings > Mail, Contacts, Calendars
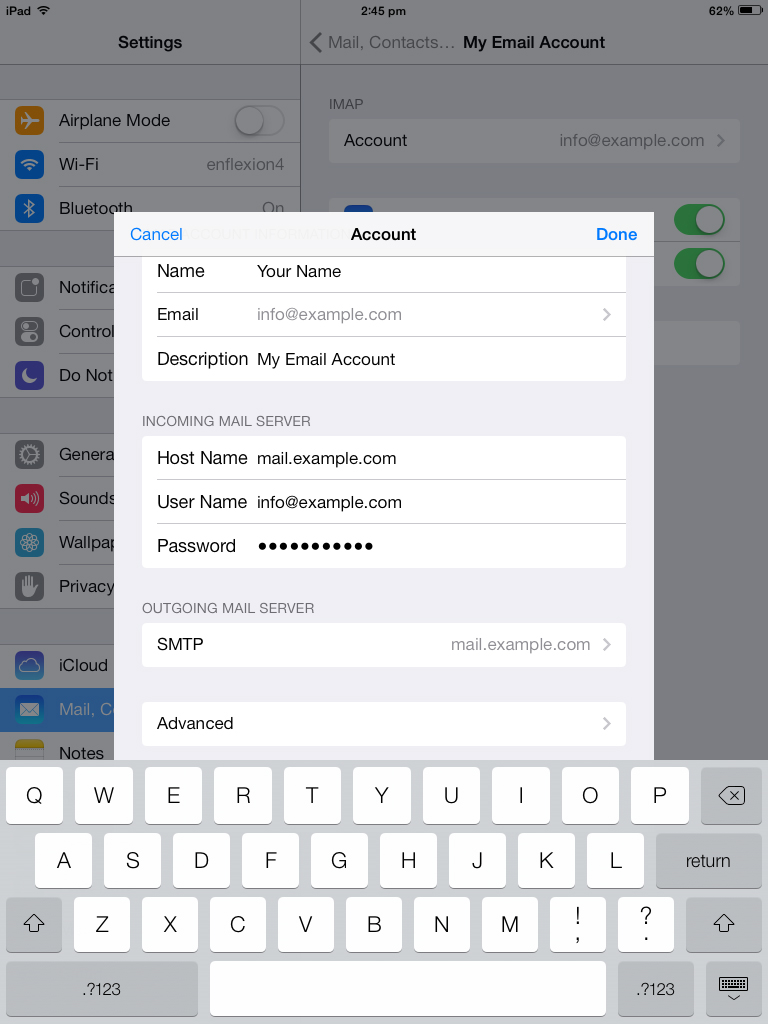
- Click your email account you have just created.
- Click Account.
- Scroll down and Click Advanced.
Click Advanced
- Complete the following steps:
- Click use SSL and swipe it to OFF.
- Tap IMAP Path Prefix and enter INBOX.
- Tap Server Port and enter 143.
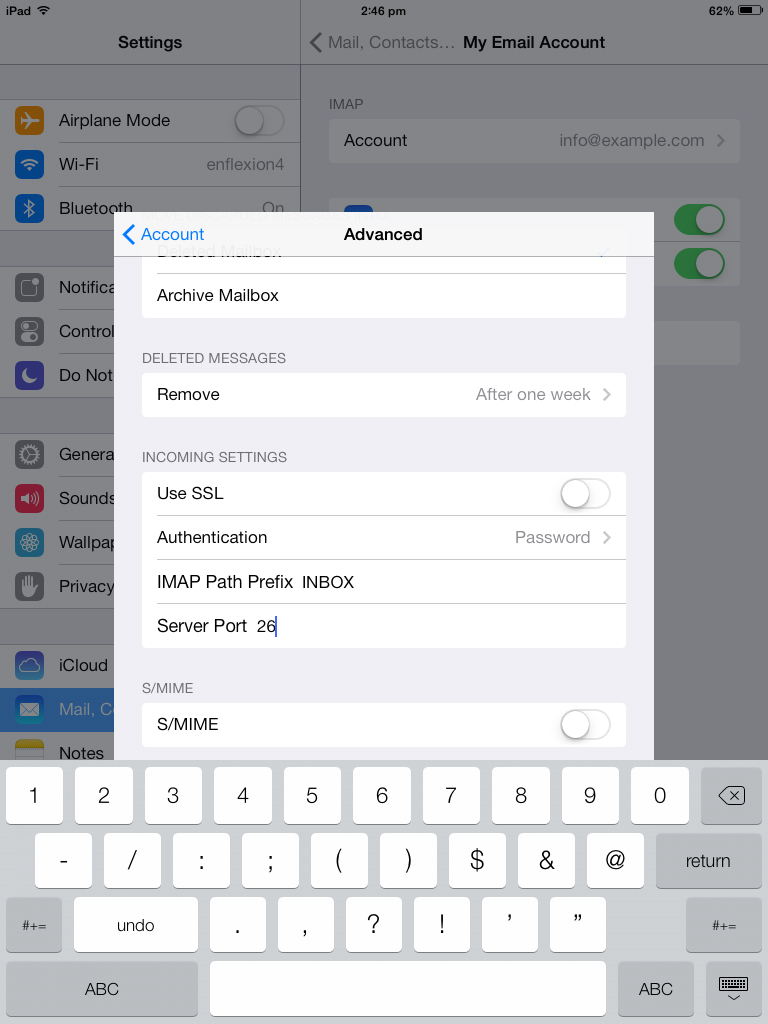
Disable SSL, enter INBOX and port 143.
- Click the Account arrow to go back.
- Click SMTP.
- Click Primary Server.
- Complete the following steps:
- Click use SSL and swipe it to OFF.
- Click Server Port and enter 26.

Disable SSL, enter port 26
- Click Done.
- Your iPad will now verify your email account information.
- Click the Account arrow to go back.
- Click Done.
That's all done and you should be able to start receiving and sending emails from your iPad.